How to make vertical screen recordings and Reels on Mac
A desktop walkthrough and a phone video need different framing. Start with a portrait canvas, then decide what your viewer needs to see.
Updated 4 October 2026 · About 4 minutes
This guide covers the framing decisions you can use in a video editor, with examples from the screenrecordingmac preview. Public downloads of our app are not open yet.
Start with footage that fits the story
You can work with a screen recording, a video recorded on your phone or a clip already saved on your Mac. Transfer phone footage to your Mac before importing it. Keep the original file so you can try different edits later.
If the main subject is a phone app, a portrait source usually gives you more useful detail in a vertical video. A full desktop scaled into a narrow frame can make small labels difficult to read. Record a focused window or plan a closer view of the part that matters.
Choose a 9:16 canvas
A 9:16 canvas is taller than it is wide. screenrecordingmac’s Create a Reel flow starts with a 1080 × 1920 canvas and an H.264 MP4 export at 30 frames per second. Portrait imports are detected automatically.
You can also change an existing project to a portrait format. Review every important moment afterward: a good landscape composition may need different framing in a tall video.
Decide between Fit and Fill
- Fit keeps the whole source visible. If the source and canvas have different shapes, space remains around the picture.
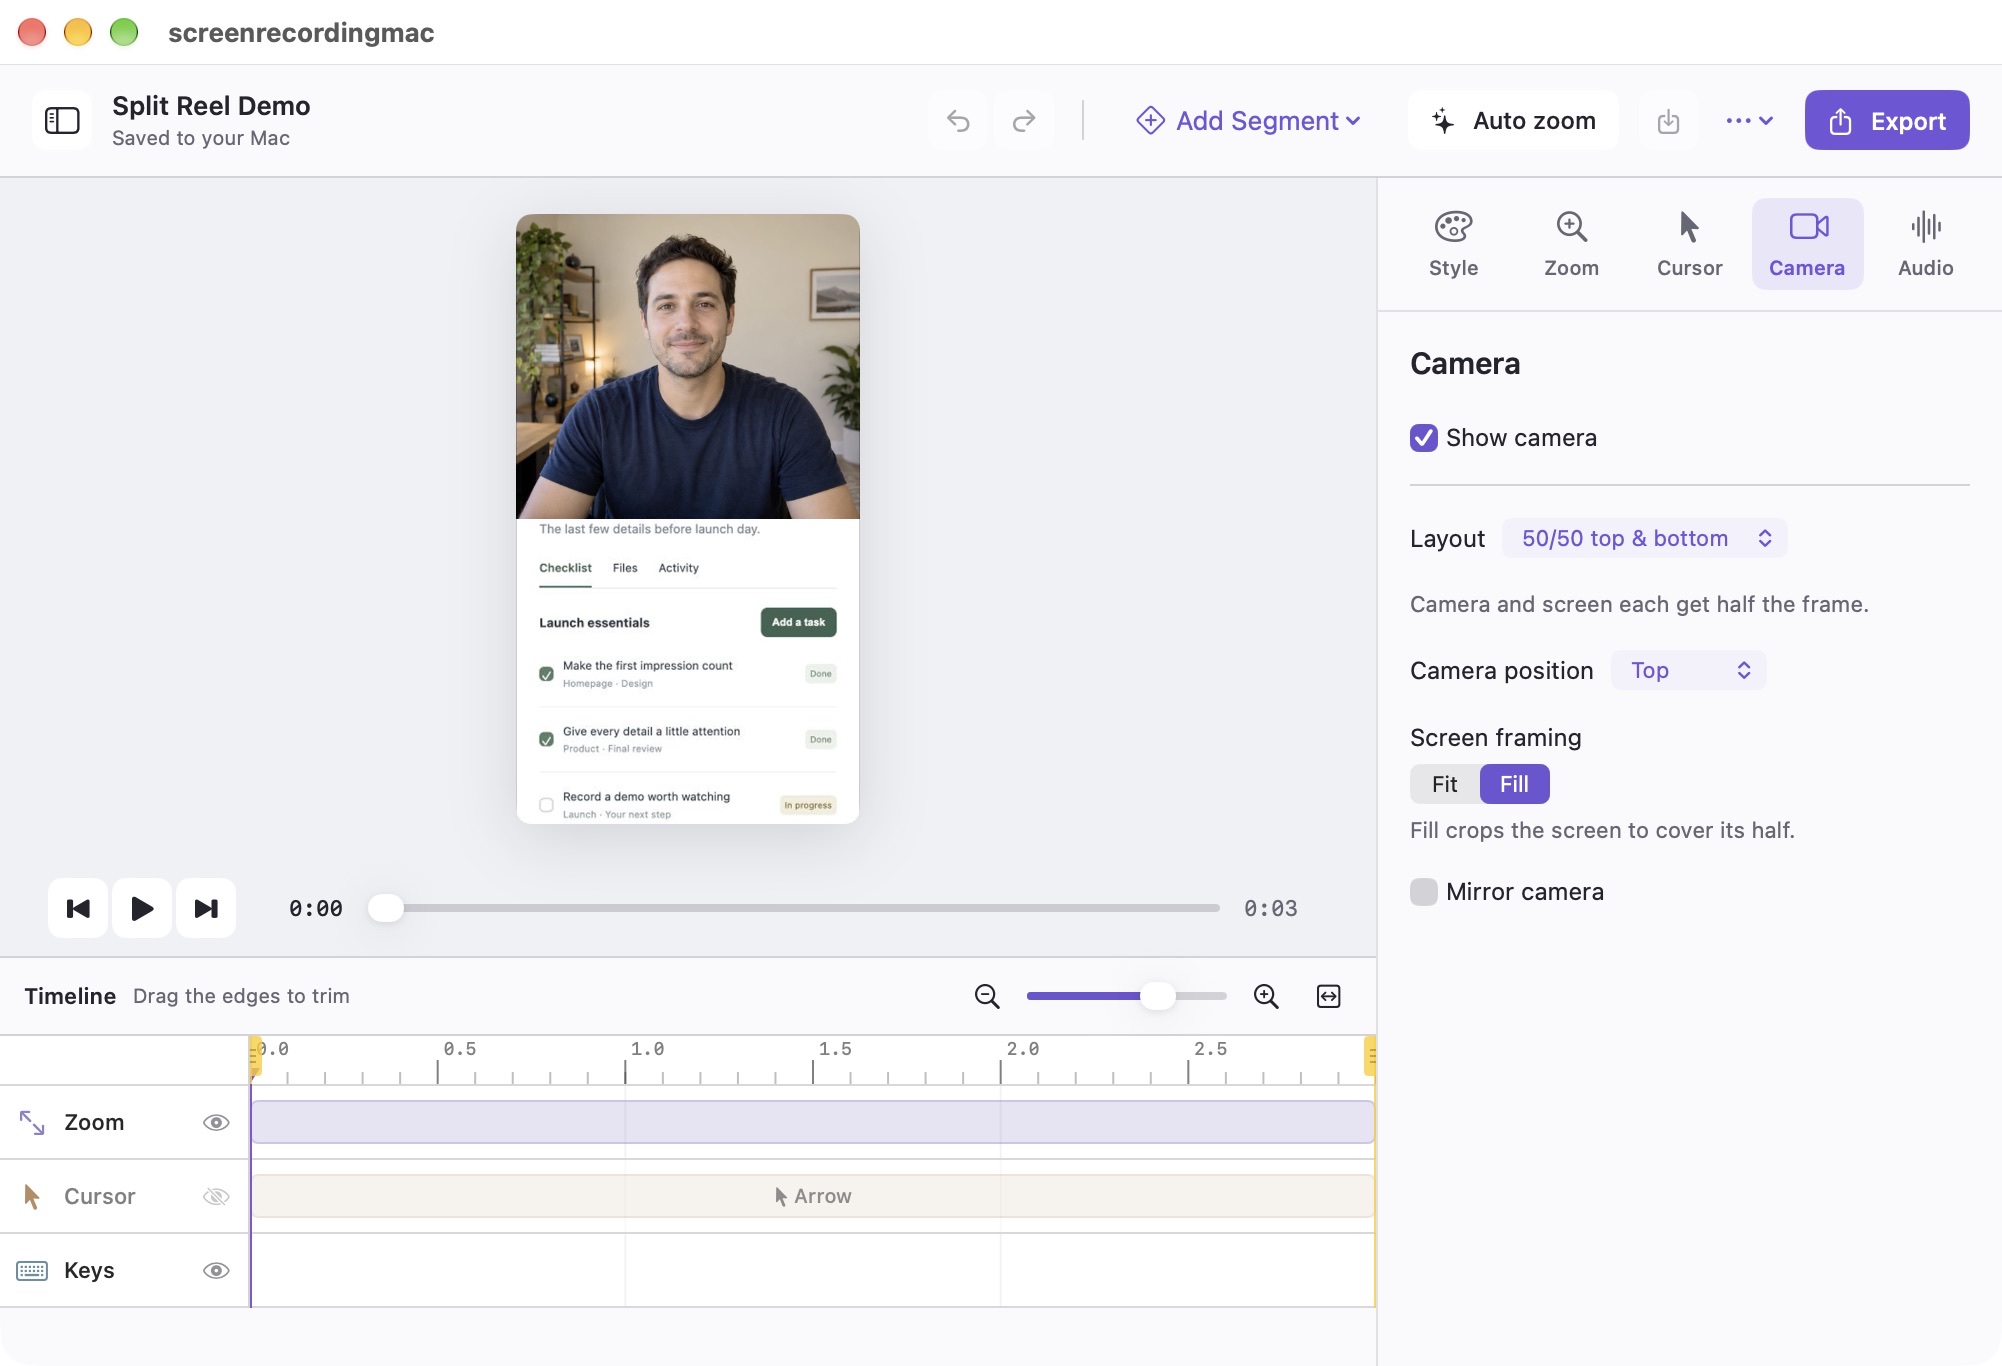
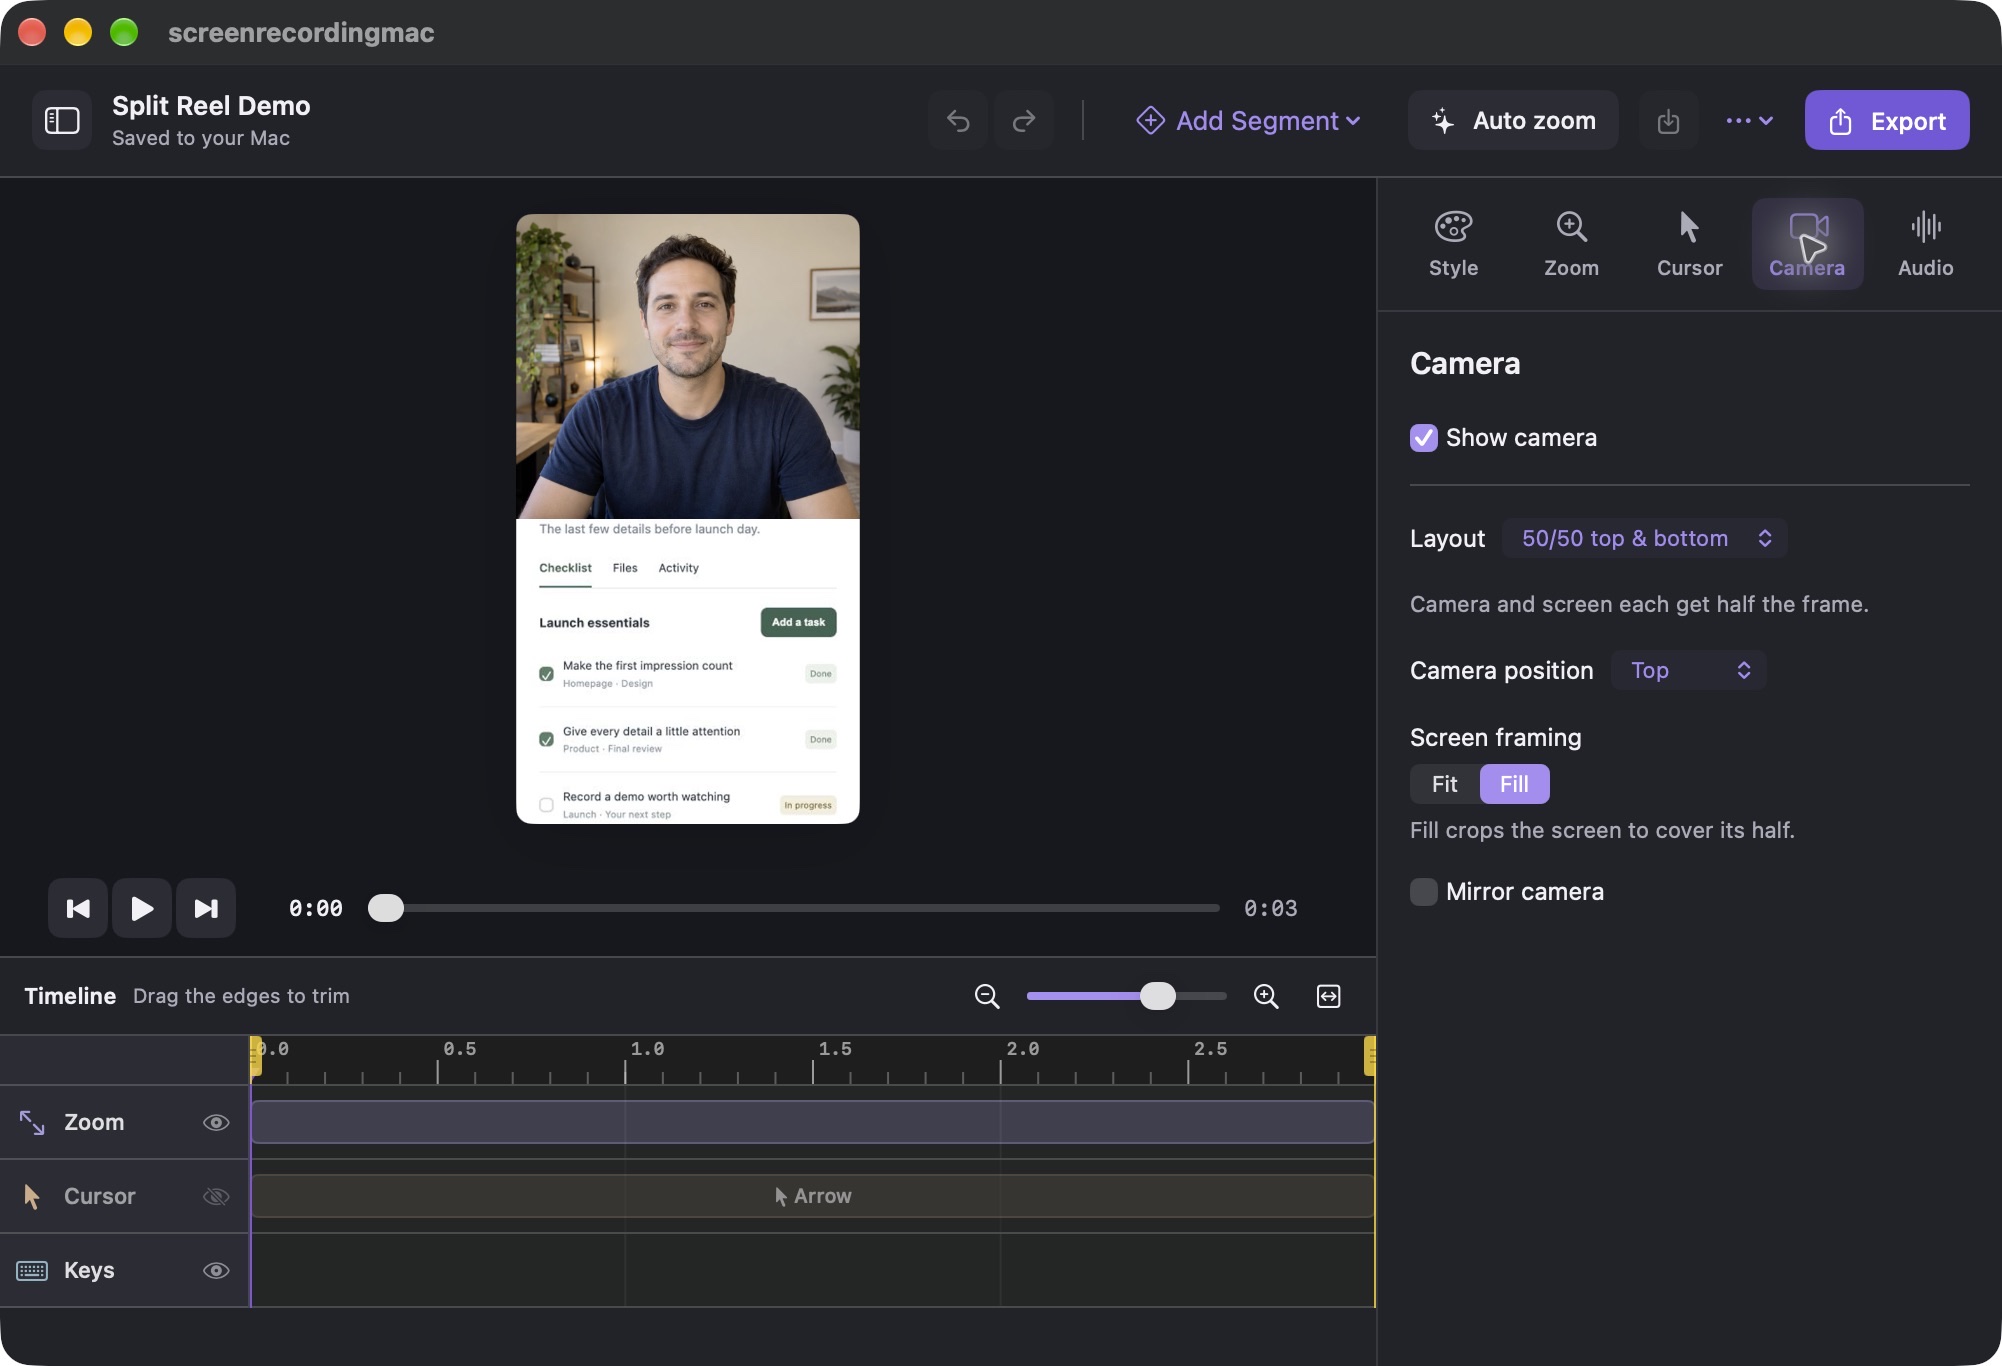
- Fill covers the frame. Parts of a wider source may be cropped, so check that labels, buttons and faces stay in view.
Use Fit when the entire screen is essential. Use Fill when one part can carry the story and you want to give it more of the frame. The right choice is the one that keeps the action understandable.
Let your face explain the screen
For portrait projects with camera footage, a top-and-bottom split gives your face and your screen equal space. Put the camera above or below, then check the screen framing inside its half.
For a desktop video, use a camera window instead. Place it on the left or right, resize it and keep important controls visible. In the current app, that saved camera position applies to the whole video.
What about iPhone Mirroring?
The app includes a guided entry for recording the window provided by Apple’s iPhone Mirroring. You still need a compatible Mac and iPhone and must complete Apple’s setup first. The app does not provide its own mirroring connection.
Apple requires macOS 15 or later on an Apple silicon or T2 Mac, iOS 18 or later, and the same Apple Account with two-factor authentication. Bluetooth and Wi-Fi must be on, with the locked iPhone nearby. Availability also depends on your region; Apple currently lists the European Union as unavailable. Check Apple’s iPhone Mirroring requirements before choosing this workflow.
Paired-iPhone recording is still being tested before our public release. Importing an existing phone video is a separate workflow and does not require iPhone Mirroring.
Watch the export on a phone
Before sharing, play the exported video at the size your audience will use. Check text, camera framing and audio. Leave room for the interface of the app where you plan to publish; labels near the edges may be covered by its controls.
- Read the smallest label. If it is difficult to read, zoom into the relevant part instead of shrinking the entire desktop.
- Watch a full transition. Make sure the important screen action stays visible when your cursor moves or the app changes views.
- Listen with headphones. Your voice should remain understandable when screen audio plays. See our Mac recording audio guide for a quick test.
Keep the editable project so you can adjust framing for another destination. A vertical export is a finished file, not a reason to throw away your source.
A small screen can tell a clear story.
Watch a portrait video rendered by the actual app.
Explore the demos